Project Brief
Create a music-making system using Arduino to connect triggers and controls and Processing to play sounds. You will need to use the Sound library for Processing. Start with the mode - will this be used for live performance or pre-recorded music? How will use make the noise - by triggering sampled audio files or making synthetic sounds yourself? What kind of visuals will accompany your music? Consider the interface: Which sensors will you use and which parameters will they control? How will the controls be laid out? Make an enclosure out of cardboard to house your Arduino and attach your triggers and controls.
∙ Create a physical interface to control your music machine
∙ Create a software program to obey your interface
∙ Create visuals to accompany your music
∙ Create a software program to obey your interface
∙ Create visuals to accompany your music
Setting Up the BreadBoard
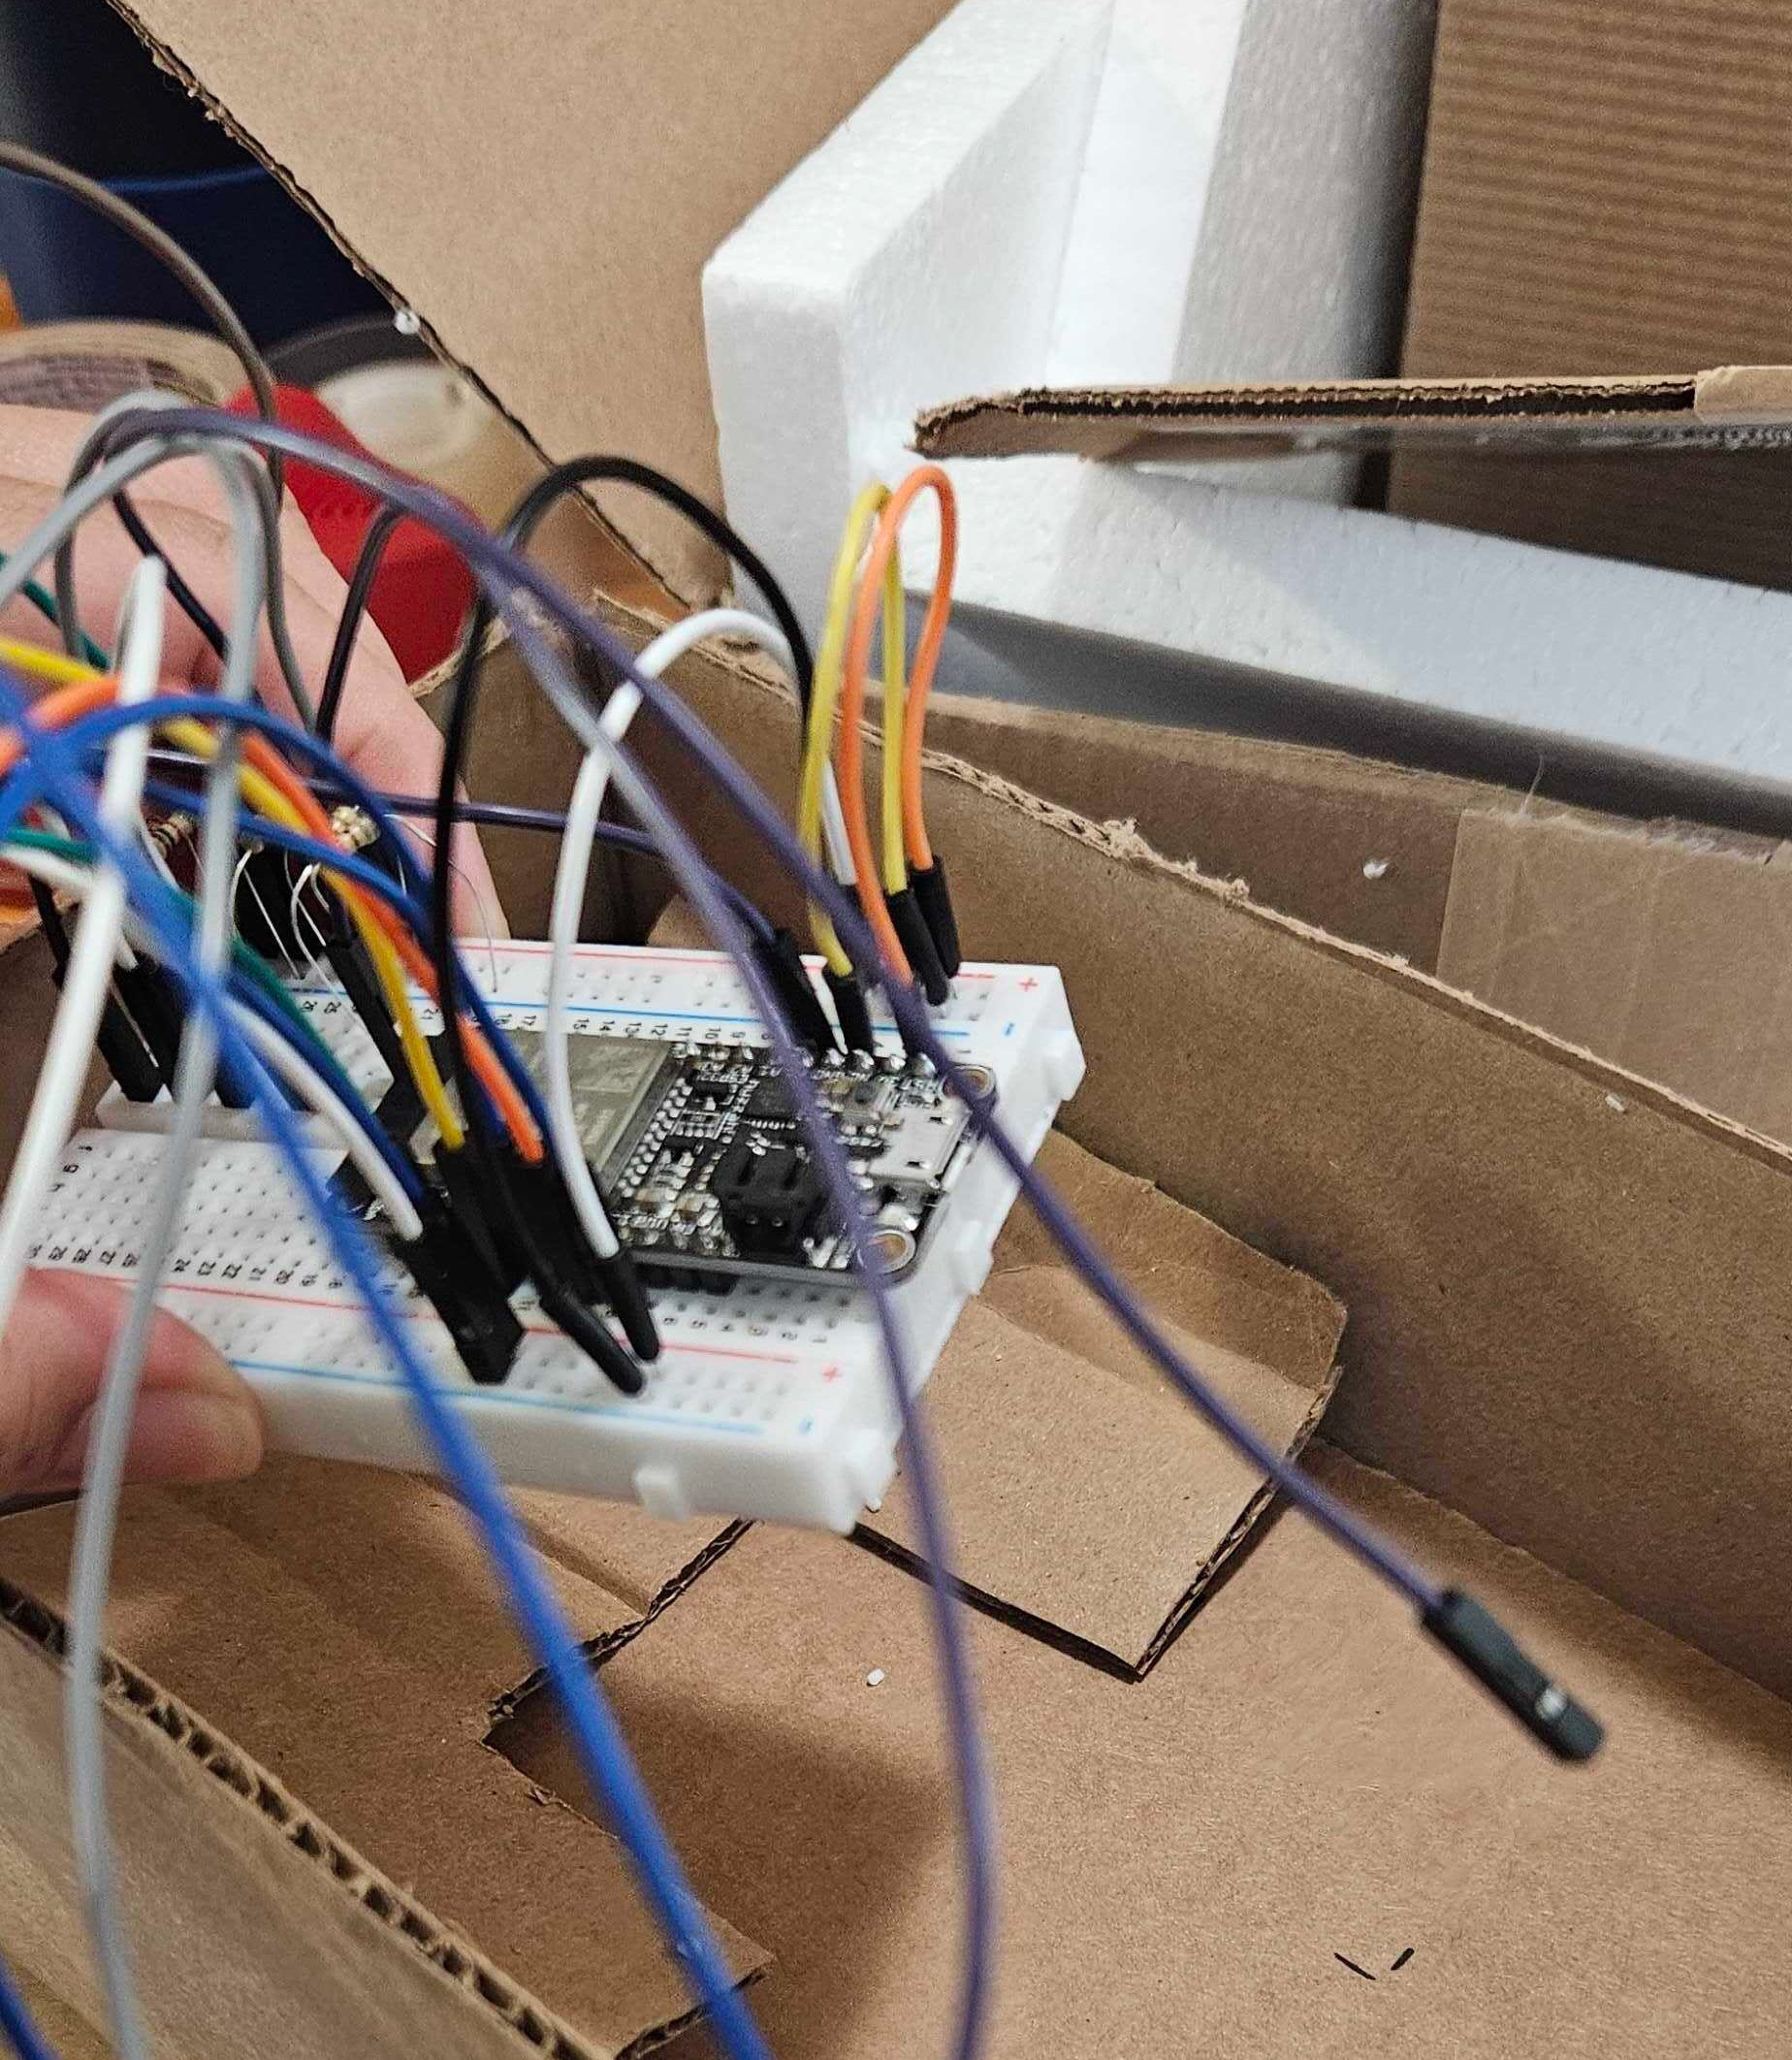
Planning ahead is typically my bread and butter, so my first step in approaching this brief was to look at which components I wanted to use and consider which ones I may need along the way. I also thought about what may be needed to create the physical case or housing for the breadboard and gathered male-to-female cables to connect my components in the event that I would not directly connect components to the board. As I began to look at the code we were given to continue off of, I quickly realized that my planning ahead would be thrown out the window and would need to just roll with what I could at the moment.
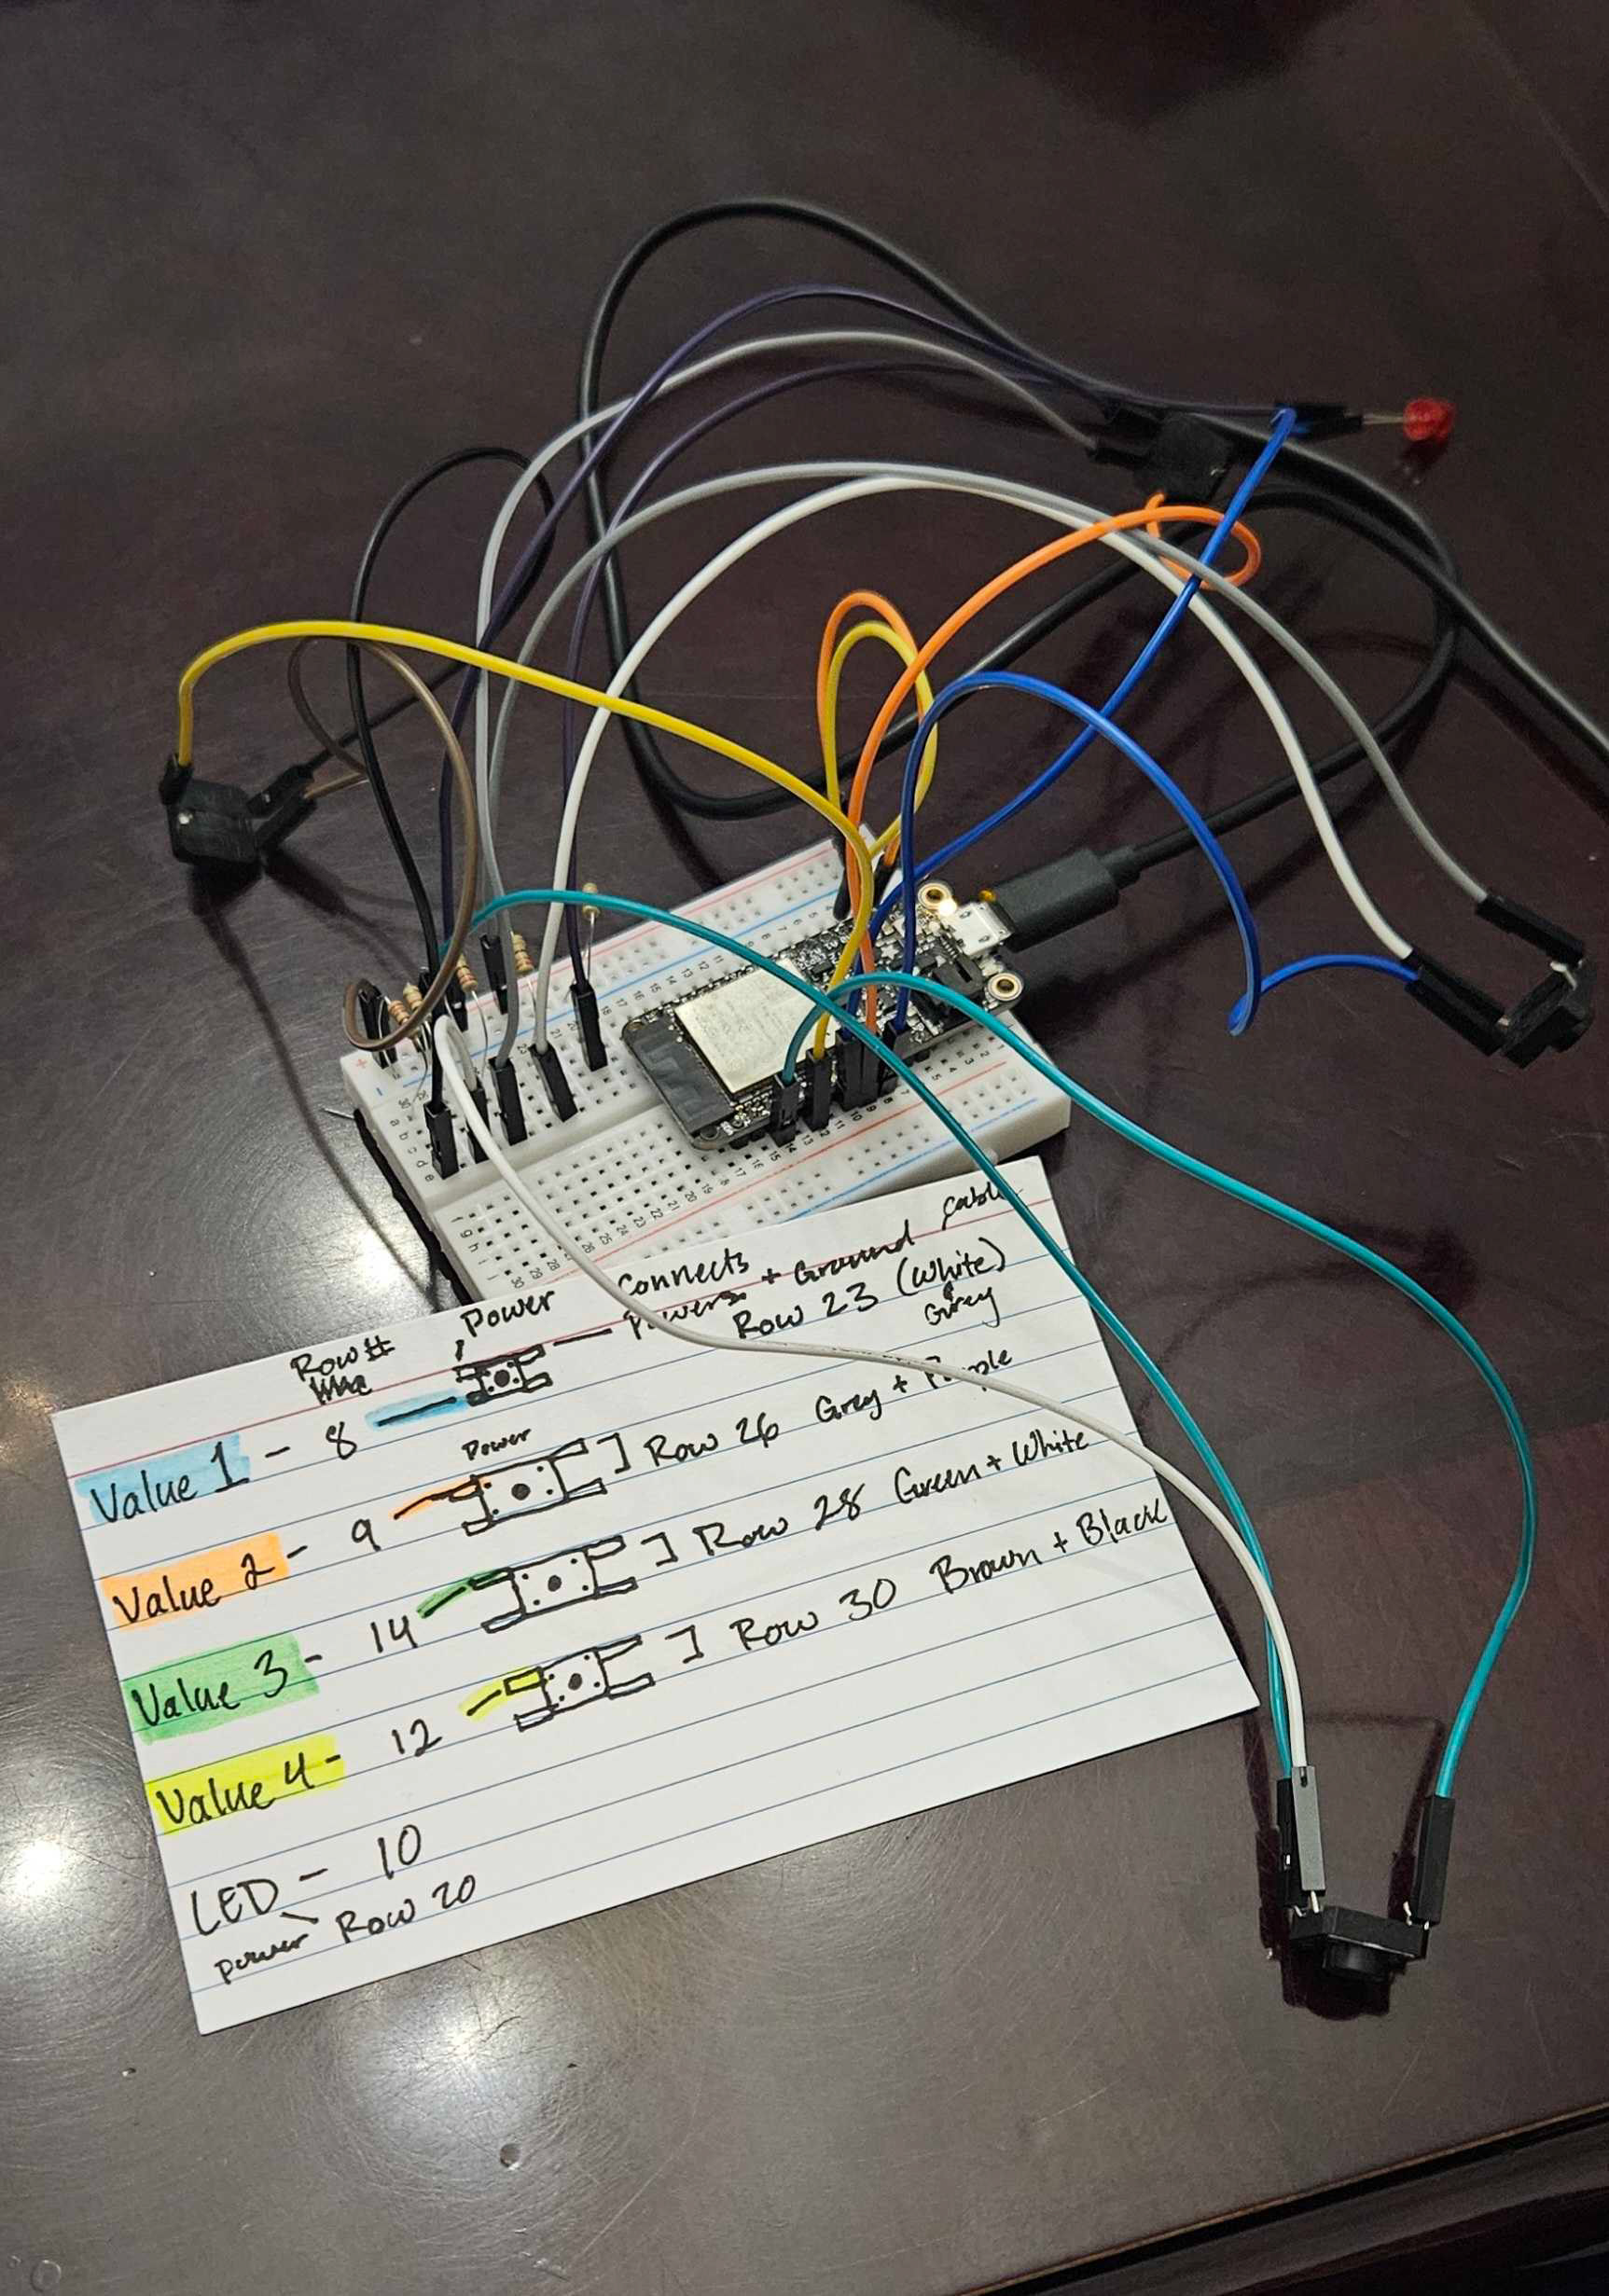
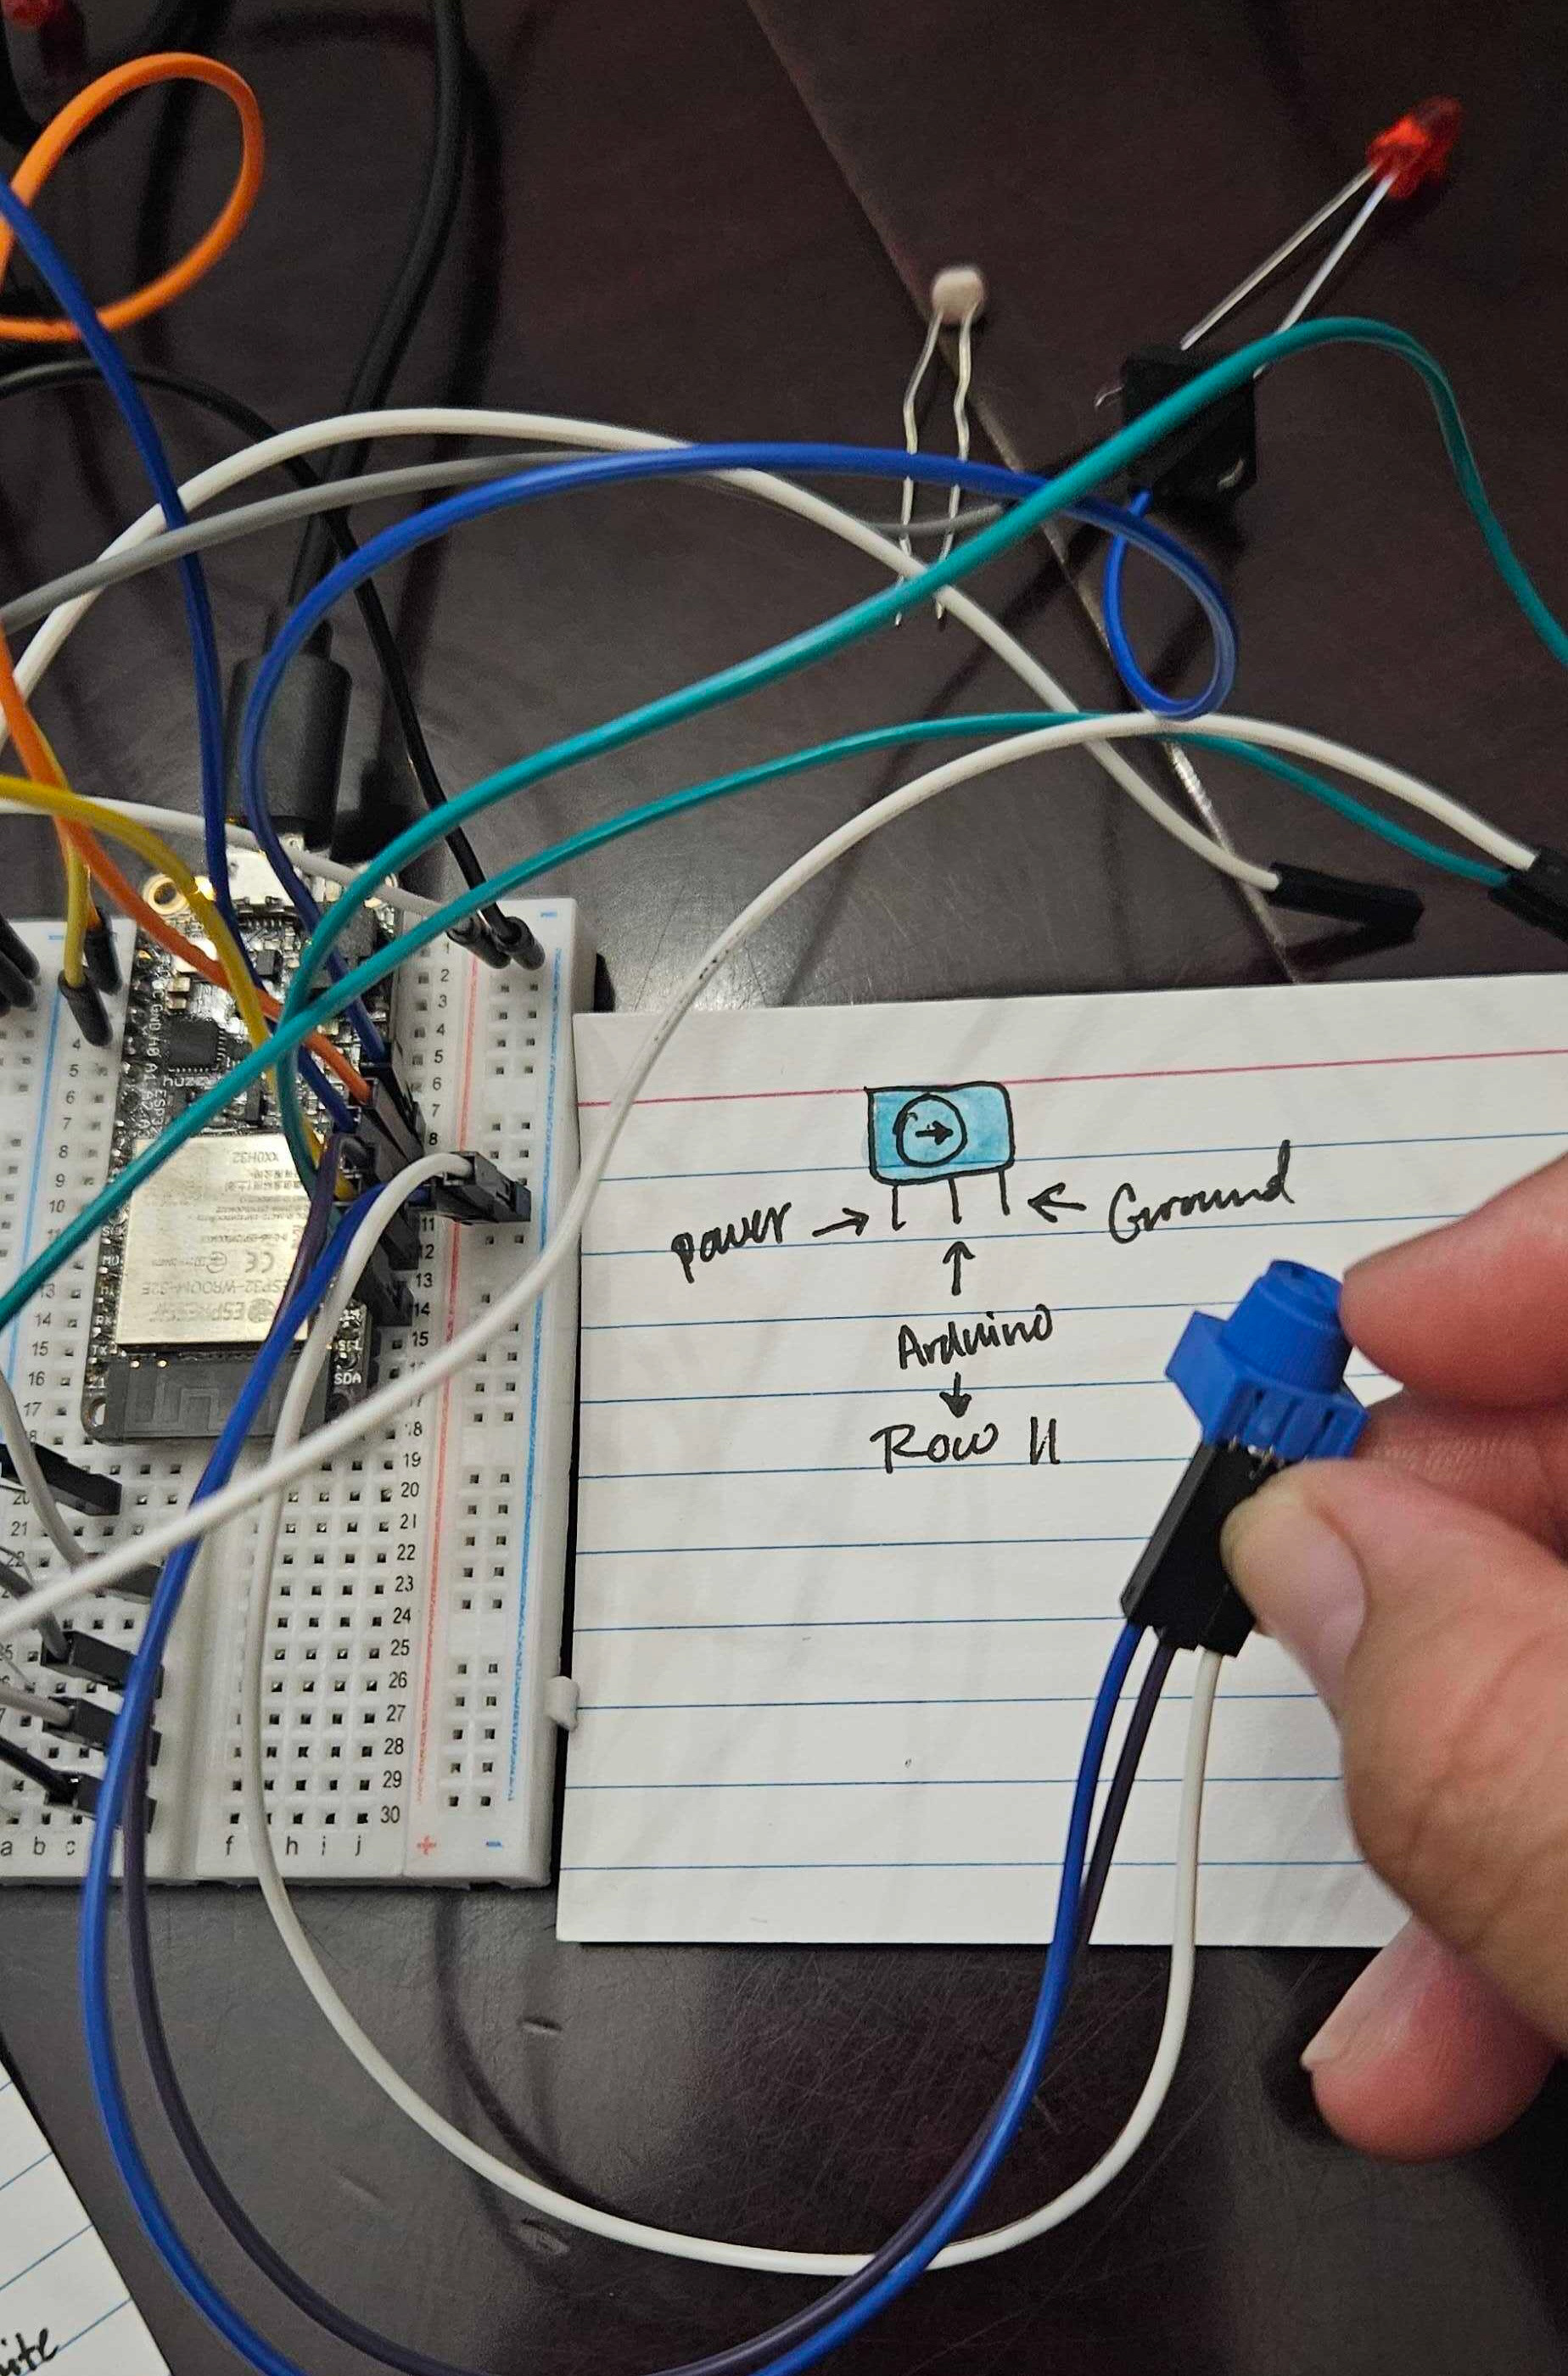
Going through the code on Arduino, I began connecting the cables and buttons to the values they corresponded to and referred to the ESP32 diagram to help make sense of my new board setup. To help me understand what I was doing, I wrote down the values and the rows they corresponded to along with how I was connecting them together. Similarly, I used the LED to help me test parts of the ESP32 to ensure that my potentiometer was working properly before moving forward into Java and connecting it to Arduino.

Arduino & Processing
Once the board was connected, I uploaded the code and looked at the Serial Monitor on the Arduino IDE to ensure they were functioning properly. For a visual representation of this, I also utilized Serial Plotter to look at the values and ensure they were labeled the same way they were intended.
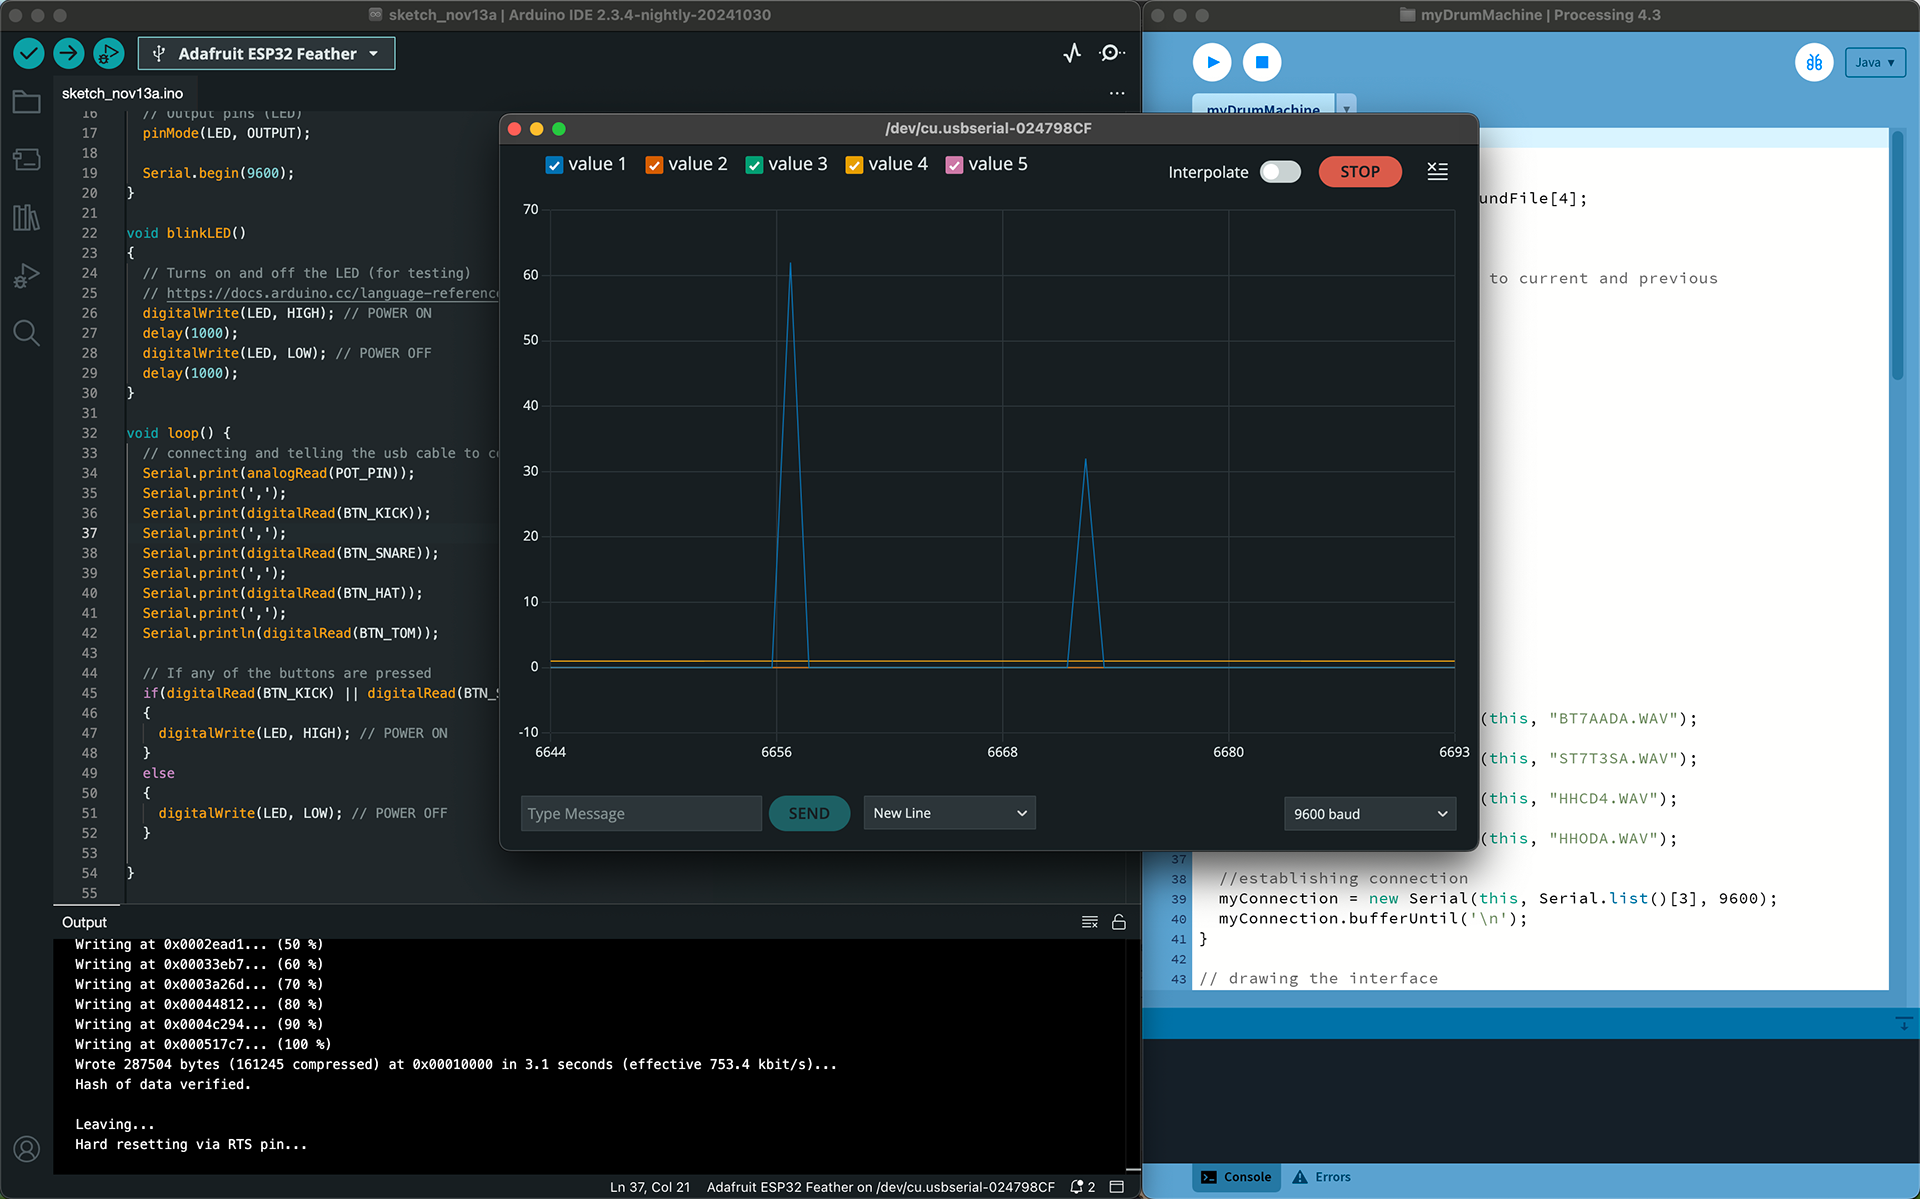
View in Serial Plotter testing the connections from the board are executing properly
Designing the DJ Arduino Box
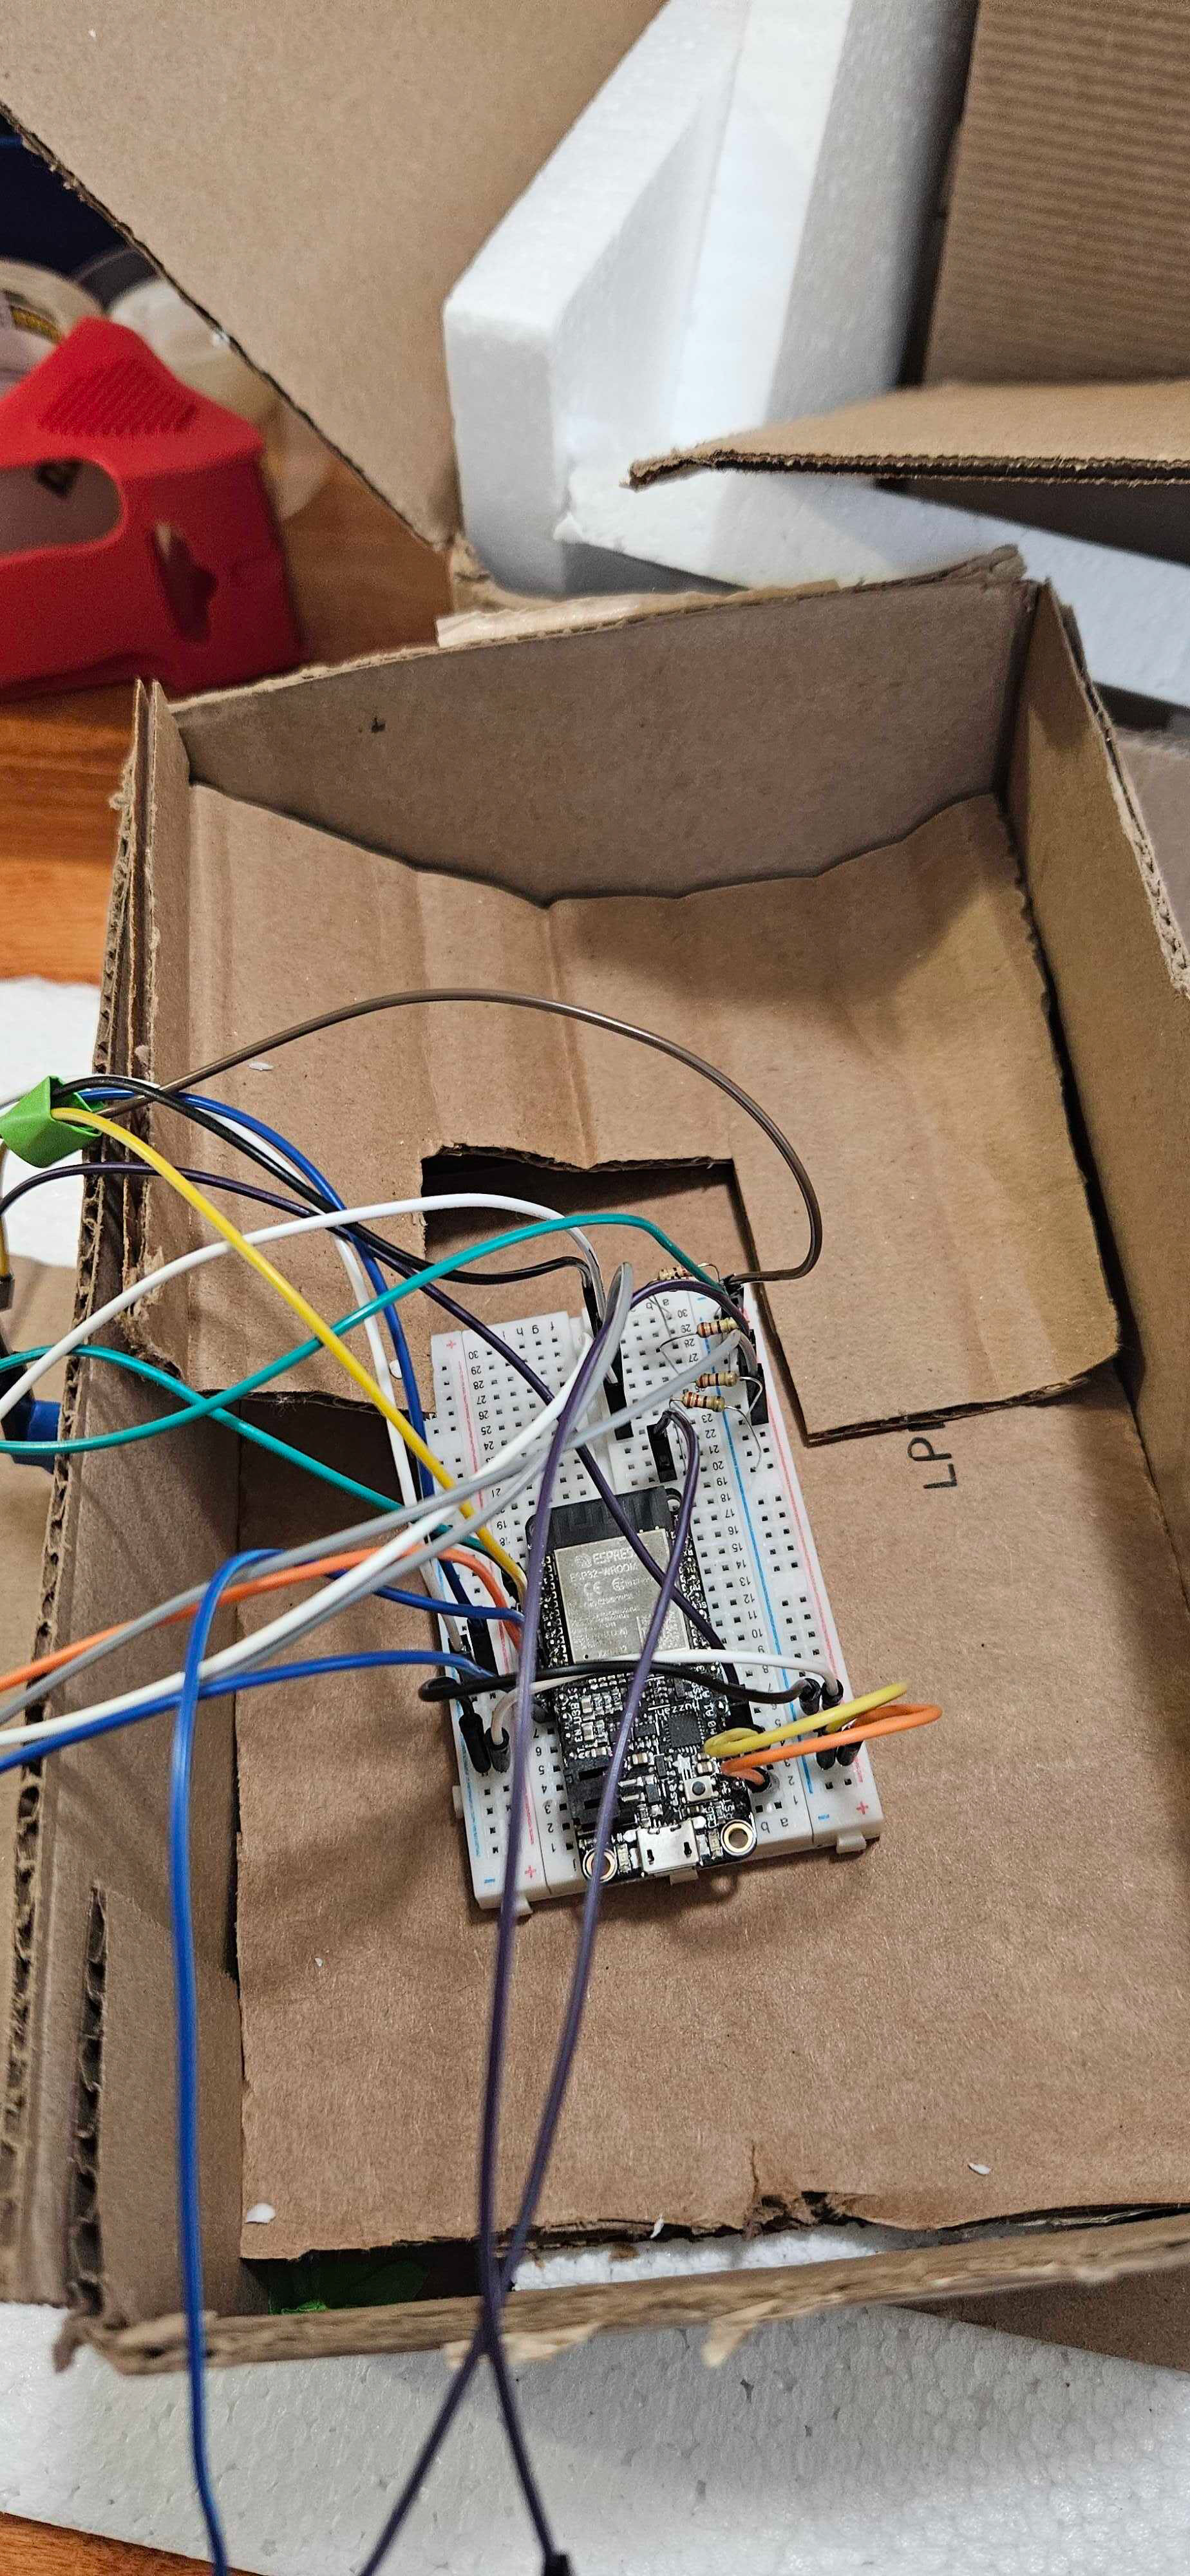
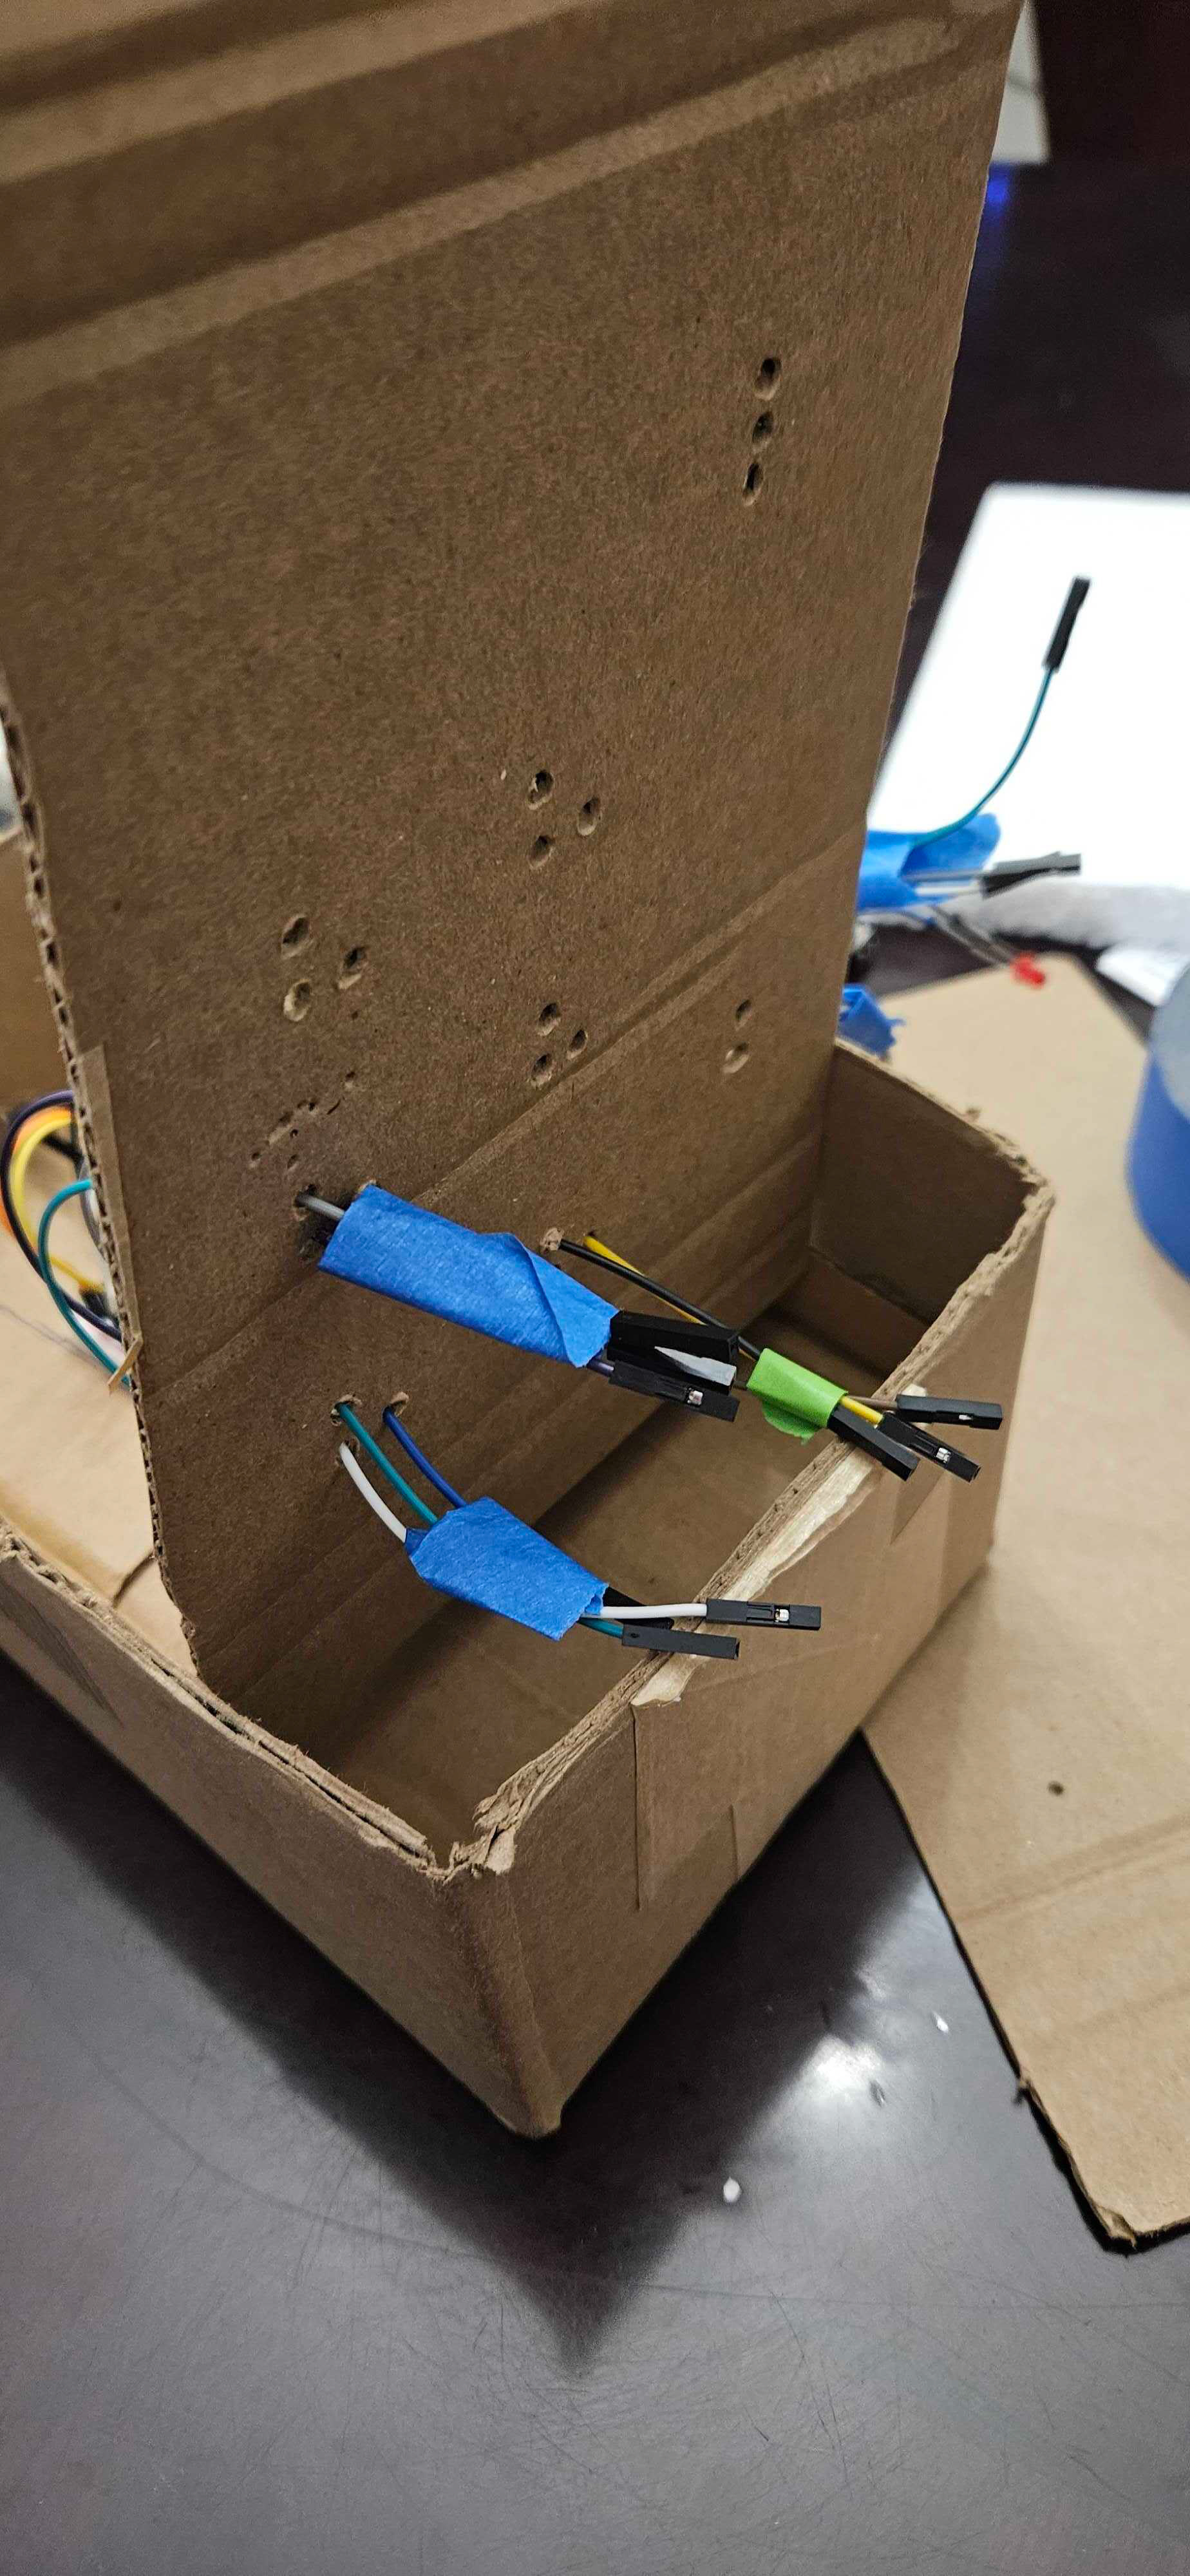
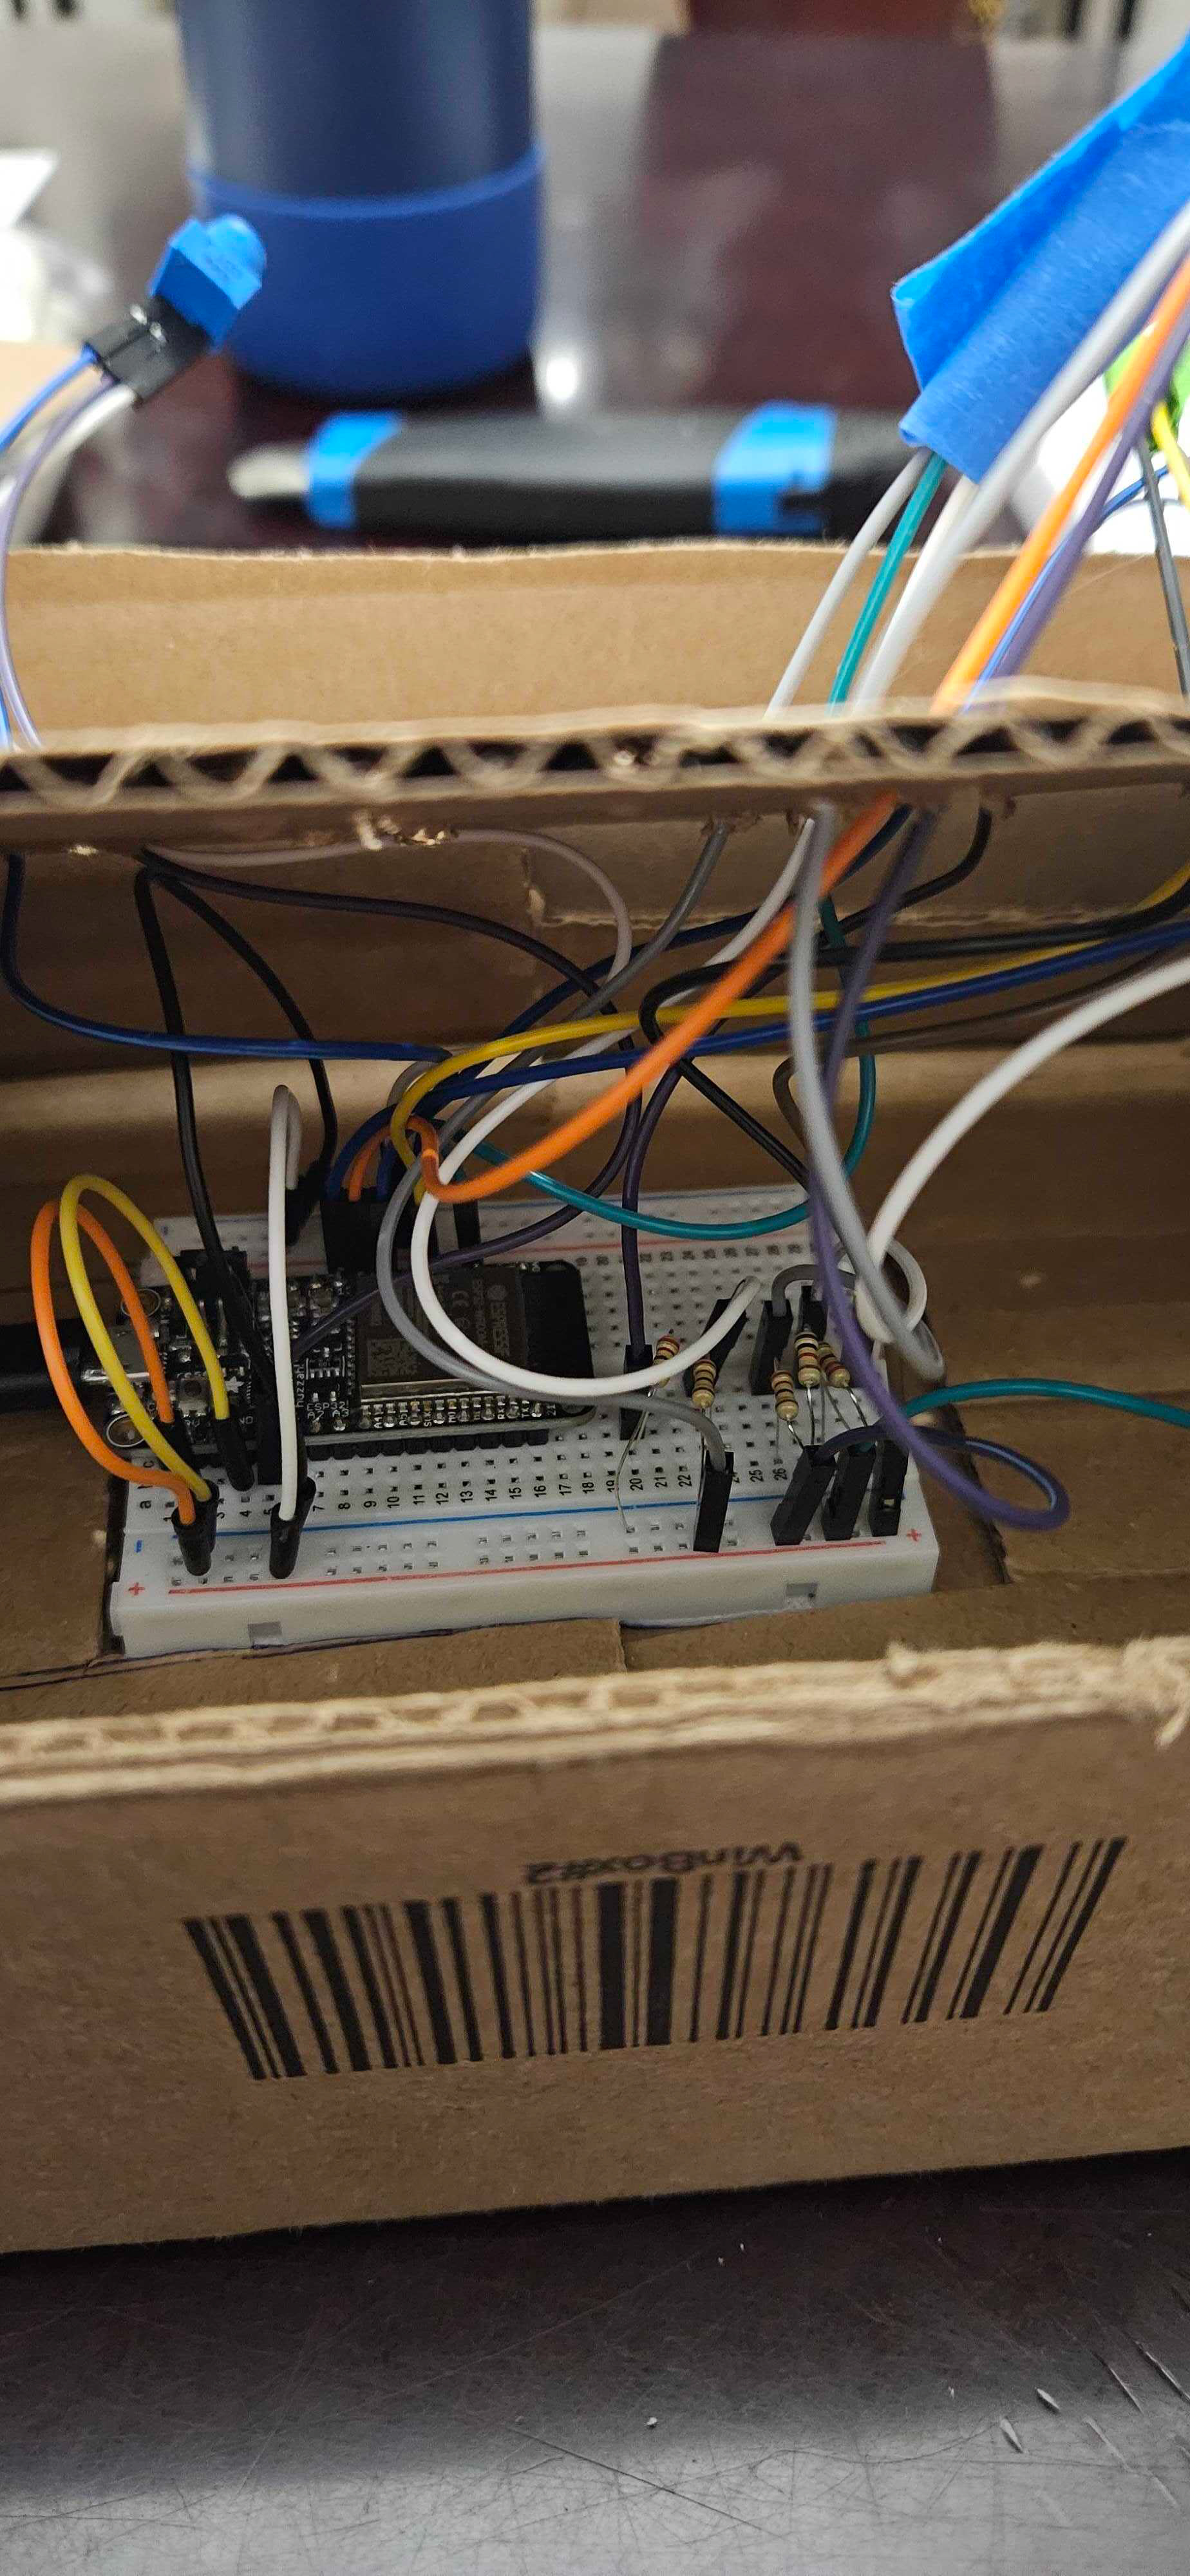
Process of fitting the breadboard into the box to make sure that it stays in place even if the box is being tilted
Testing the Music Machine